Thursday, September 30, 2010

TERRORDOME!


Well, actually, terrarium, made with old mason jars and plants from the cottage. Terrordome sounds more exciting.

Monday, September 27, 2010

EASY CLOTH NAPKINS WITH A SERGER


One of the first projects I knew I wanted to undertake for the wedding was cloth napkins for the tables. I settled on using the several colours from our invites and found gingham fabrics in different sizes of checks that matched as the main focus for the settings. I thought it would be easy enough to find a lot of different colours in a decent weight of cotton fabric, but it was not the case. Yellow was almost impossible- I ended up buying 3 yards from someone in Wisconsin on Ebay. But I was very happy with what I ended up finding, colour-wise, in the end.

I tried making 6 napkins at first, to get a real sense of how long it would take. After washing (pre-shrinking) the fabric, then ironing it, cutting it, and hemming 6 napkins, I was a little worried. The hemming especially took a very long time- about 20 minutes a piece using an iron and double fold. Oy. Could I really make 140 in this way?

Then my gorgeous and talented friend at (skona life) who is a proud owner of a serger (remember those crazy-looking contraptions from home ec that cut and sewed fabric at the same time to create easy and solid seams?) suggested I use it if I wanted to make quick(ish) work of them . That is exactly what I did and was very happy with the process (so fast!) and results (professional-looking seam without any bulk). The mix of bright colours really popped and looked casual and pretty.

Friday, September 24, 2010

Pickles!!


So in the thick of my and K's coming up with more and more insane projects to do for the wedding, one came to mind that had to be done- pickles for all the tables. Homemade pickles are summer- and as we wanted an airy, casual, almost (but not quite) picnic-y feel, we decided to make one for each table.

My friend hooked us up with a vegetable guy in Kensington Market whom he uses to supply his restaurant, and we bought a bushel of pickling cucumbers. (Dudes- it turns out a bushel is a ****load.) We easily made 20 jars, could have made 8 more at least. Cucumber salad was on the menu for a while.

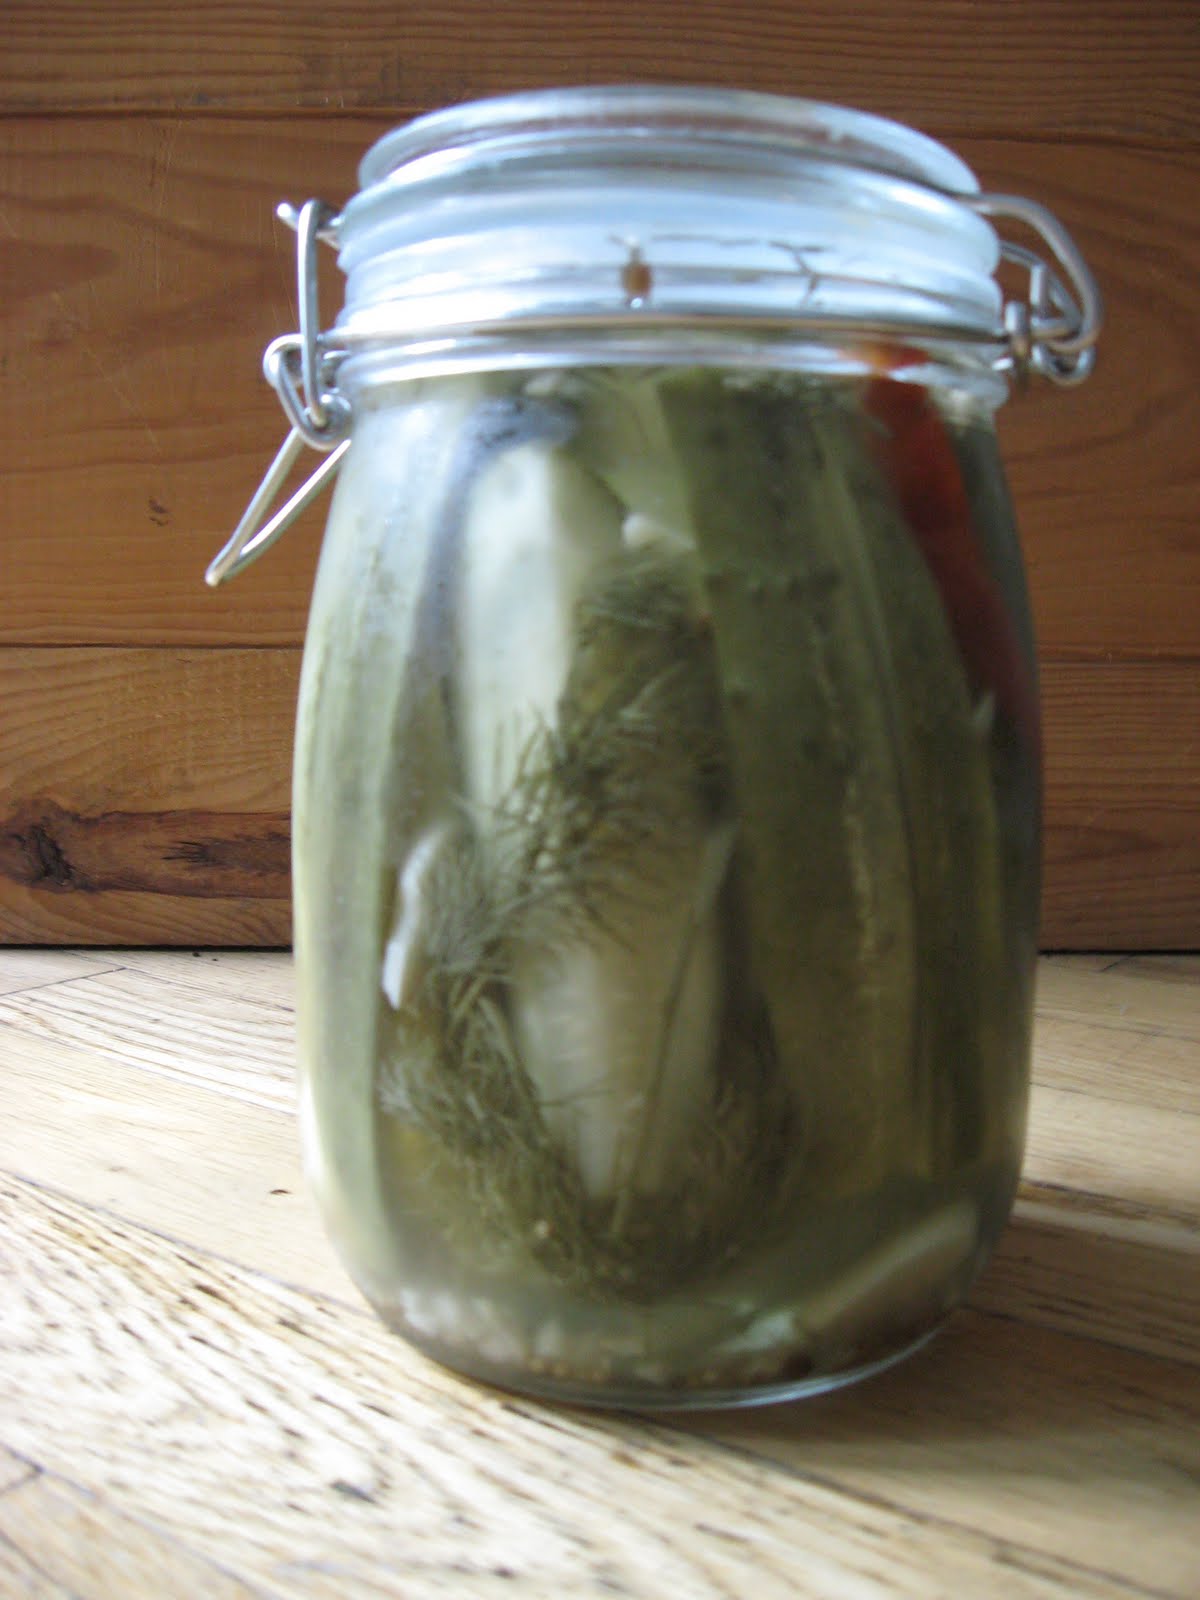
So that we could use pretty swingtop Ikea jars that could not be heat processed, we made refrigerator pickles- ones that stay crunchy because they are never heated. After about 3 weeks I tried them- they were too mustardy and not nearly garlickey or dill-y for my liking. So I added the necessaries and let the flavour develop again. They went over like gangbusters.

Now my mom, who initially thought we were crazy for making these got really into it when she pictured them on the tables of our quaint little venue. She then insisted that she find us an antique pickle fork for each jar My mom ended up using Ebay for this- her first foray- and it was adorable how into it she got. She found some insanely cool and gorgeous ones, from Queens, England and even Japan. Very glad we took the time to make pickles, but also glad to have the lower shelf of our fridge back now.

Thursday, September 23, 2010

HAND STAMPED AND EMBOSSED WEDDING INVITATIONS


Rubber stamping is one of my favorite nerdy pastimes as anyone who knows me can attest to. Ever since I was a kid I loved them- it's like being your own little printing press.

When it came to our wedding invitations, there was no question we would make them. So over a week we chipped-away at them diligently. I made the invitations, and K made the inserts- the location directions and map, hotel info etc.

We used a printer to print our names, and I bought the rubber stamp pad on Ebay of the two horseshoes, and then had it mounted super cheap at Speedy Rubber Stamps on Queen east. First, the image was stamped, then embossed with the heat embossing method. Then I did the side flower garlands one colour at a time. K used Illustrator to make the inserts- I think they looked amazing. All in all, we took a good week of evenings to do execute these (not including the time it took to work out the design).

For the reply card, we replicated one of the better invite specimens and made a postcard, using an oldtimey postcard template from good ol' Martha on the reverse. I gotta say, getting reply cards in themail is very exciting- I miss mail!

Wednesday, September 22, 2010

Easy-as-anything cake topper


My very talented sister Julia and I have had a long standing pact that when I got married, she would make my wedding cake. This may sound like folly, but she just so happens to thoroughly enjoy making cakes and was no stranger to fondant work. So she made a wonderful chocolate cake with minty frosting between the layers. Just beautiful.

Now topper-wise, Etsy has all kinds of adorable, customizable options, where your likeness can be made into peg figures, or your wedding ensembles painted onto squirrel figurines or (my favorite) a little bust of a tree trunk has your names or initials "scratched" into it. As the wedding got closer, my attention moved away from figuring-out the cake topper to important things like schedules, catering, and booze numbers. (It should have been about what hairstyle I should have, but I will tell you that story later).

A trip to my not-so-local Michaels produced a very simple, pretty and yes, DIY cake topper. And it cost about a buck fifty.

3 wooden pieces, an L, K and a heart, spray painted with blue and red Krylon that we already owned and then each piece was hot glued onto its own wooden coffee stir stick. I was very happy with the results!

Saturday, September 18, 2010

This Summer


... was amazing and busy and I am now a Mrs.! Our wedding was more or less of the DIY variety (though I am loathe to use that term when I can avoid it) and we had a lot of help from amazing friends and professionals. I will be detailing some of our projects on here in the weeks ahead. Hope your summers have all been wonderful...